
 17889
17889
*Manual configuration is available to Premium users only.
**Please note that we are not affiliated with Tunnelblick and can only provide support for our configurations.
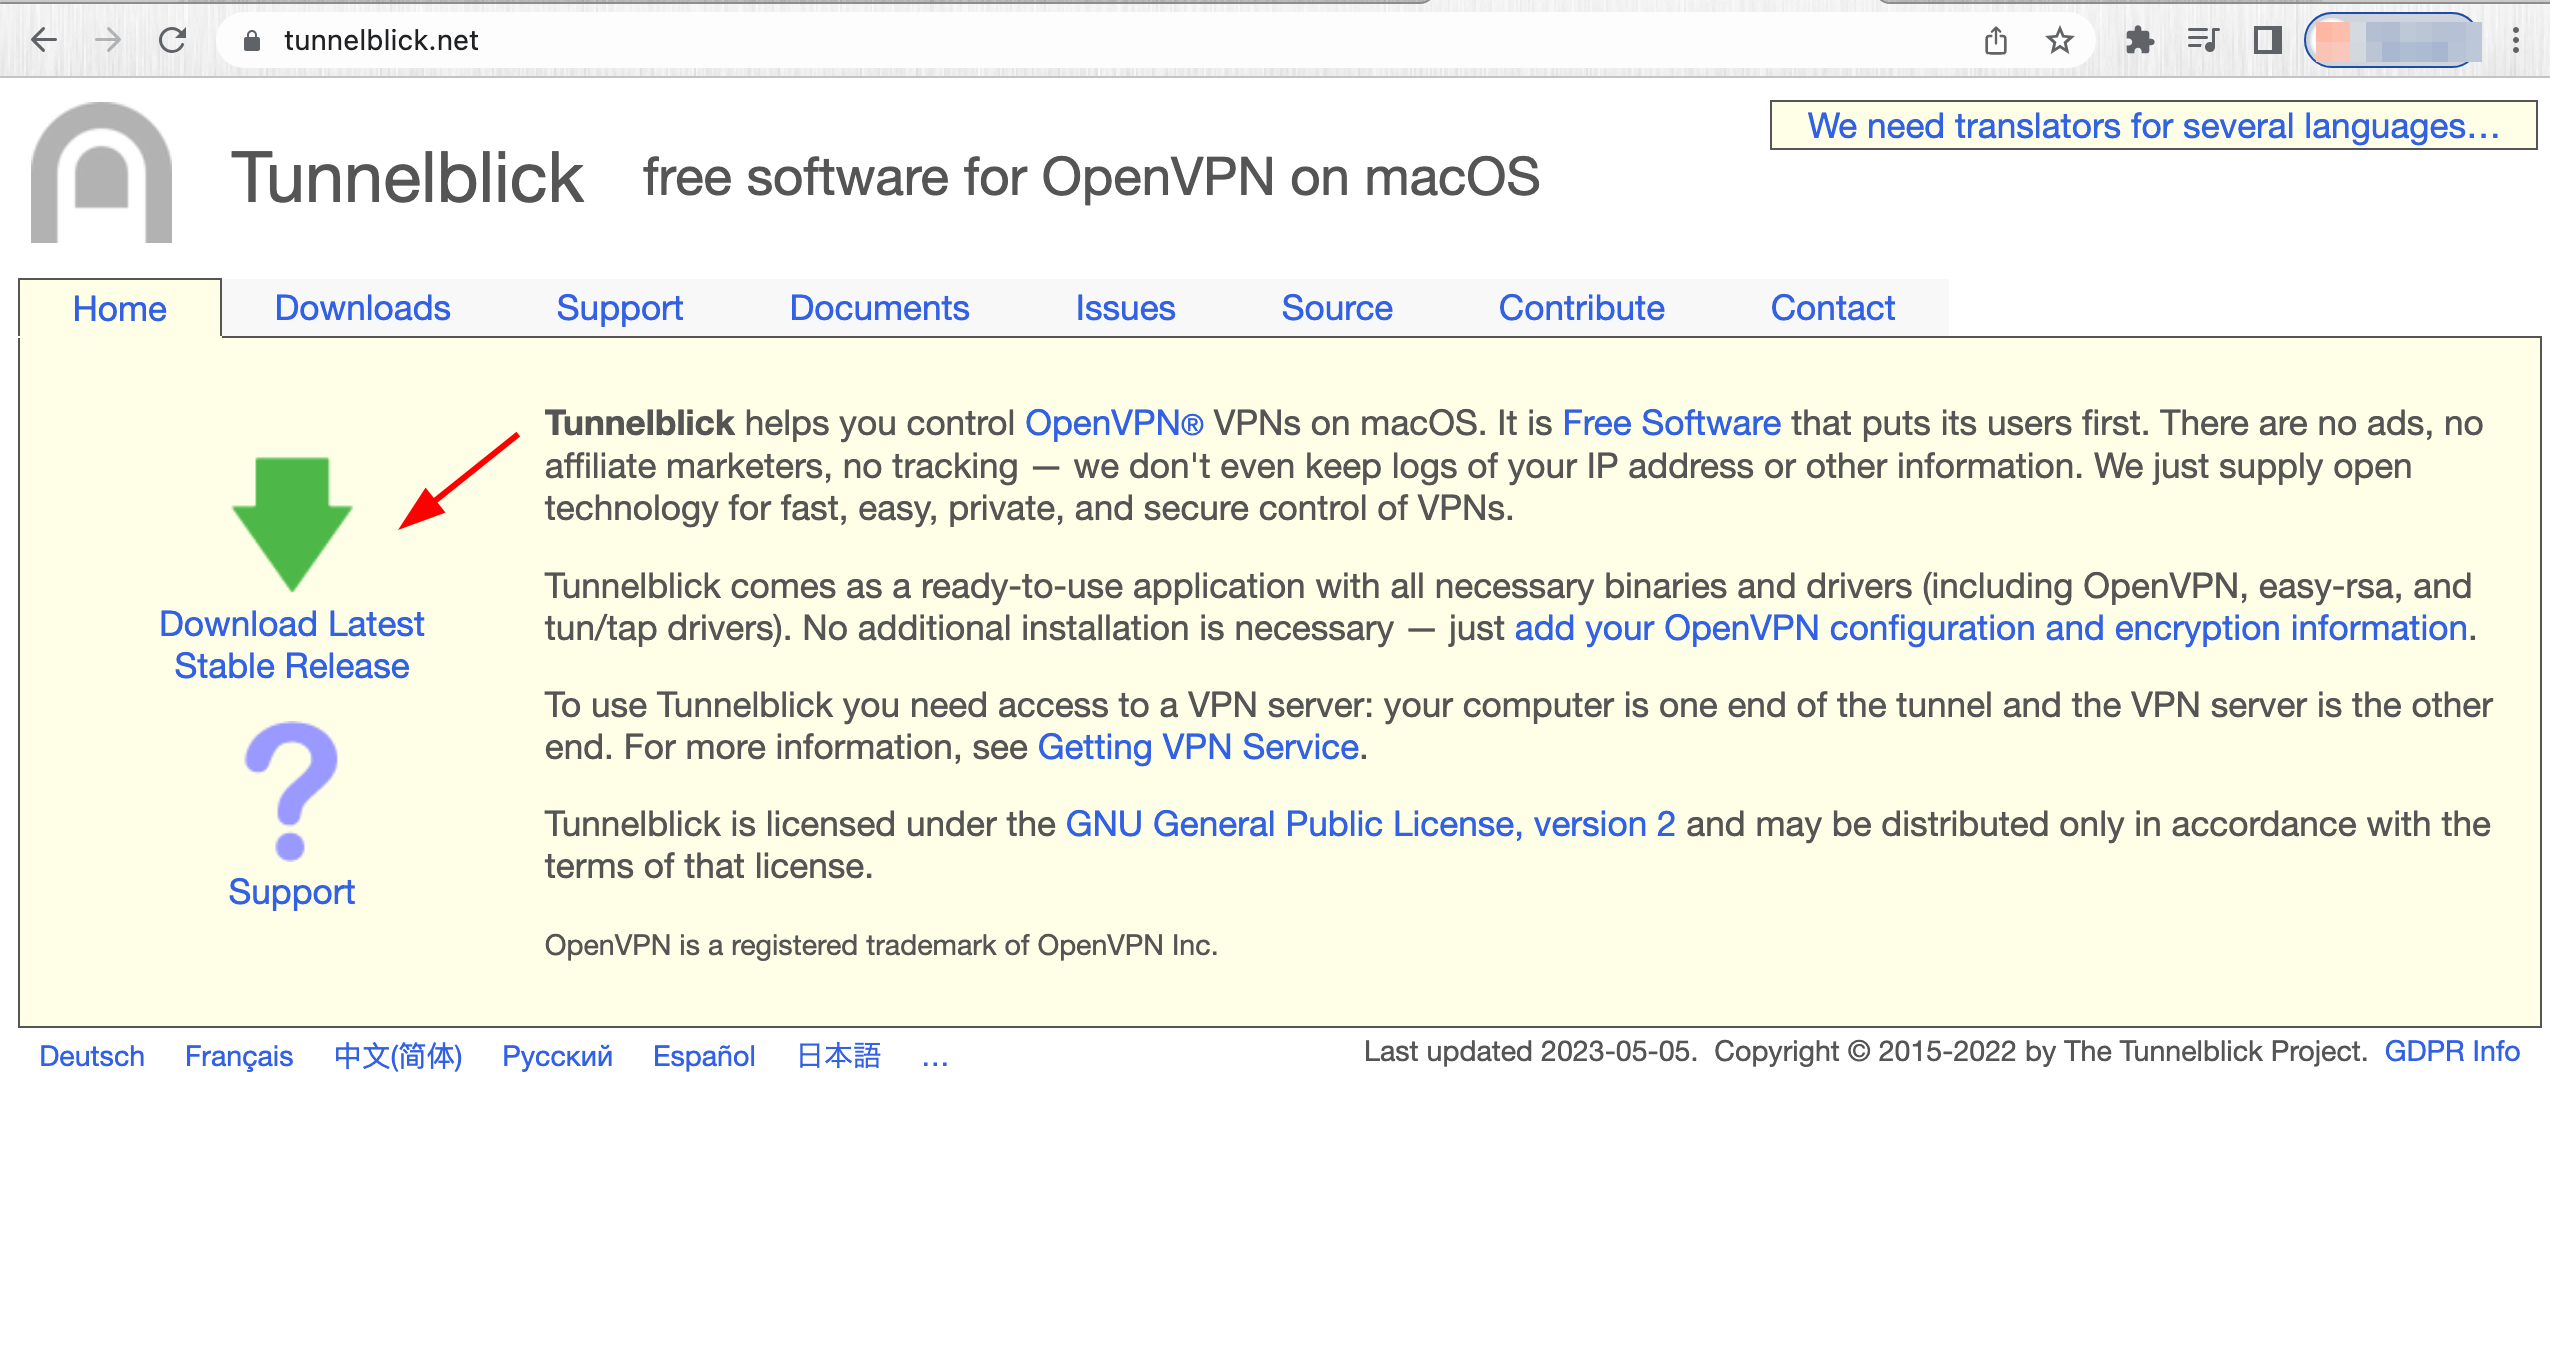
1. Download and install Tunnelblick, an open-source OpenVPN client: https://tunnelblick.net/.
- You can find the downloaded file in your browser Downloads folder or in the folder you specified previously.
- Run the .dmg file you downloaded.
- Next, follow the on-screen prompts and enter your Mac password to allow the installation.
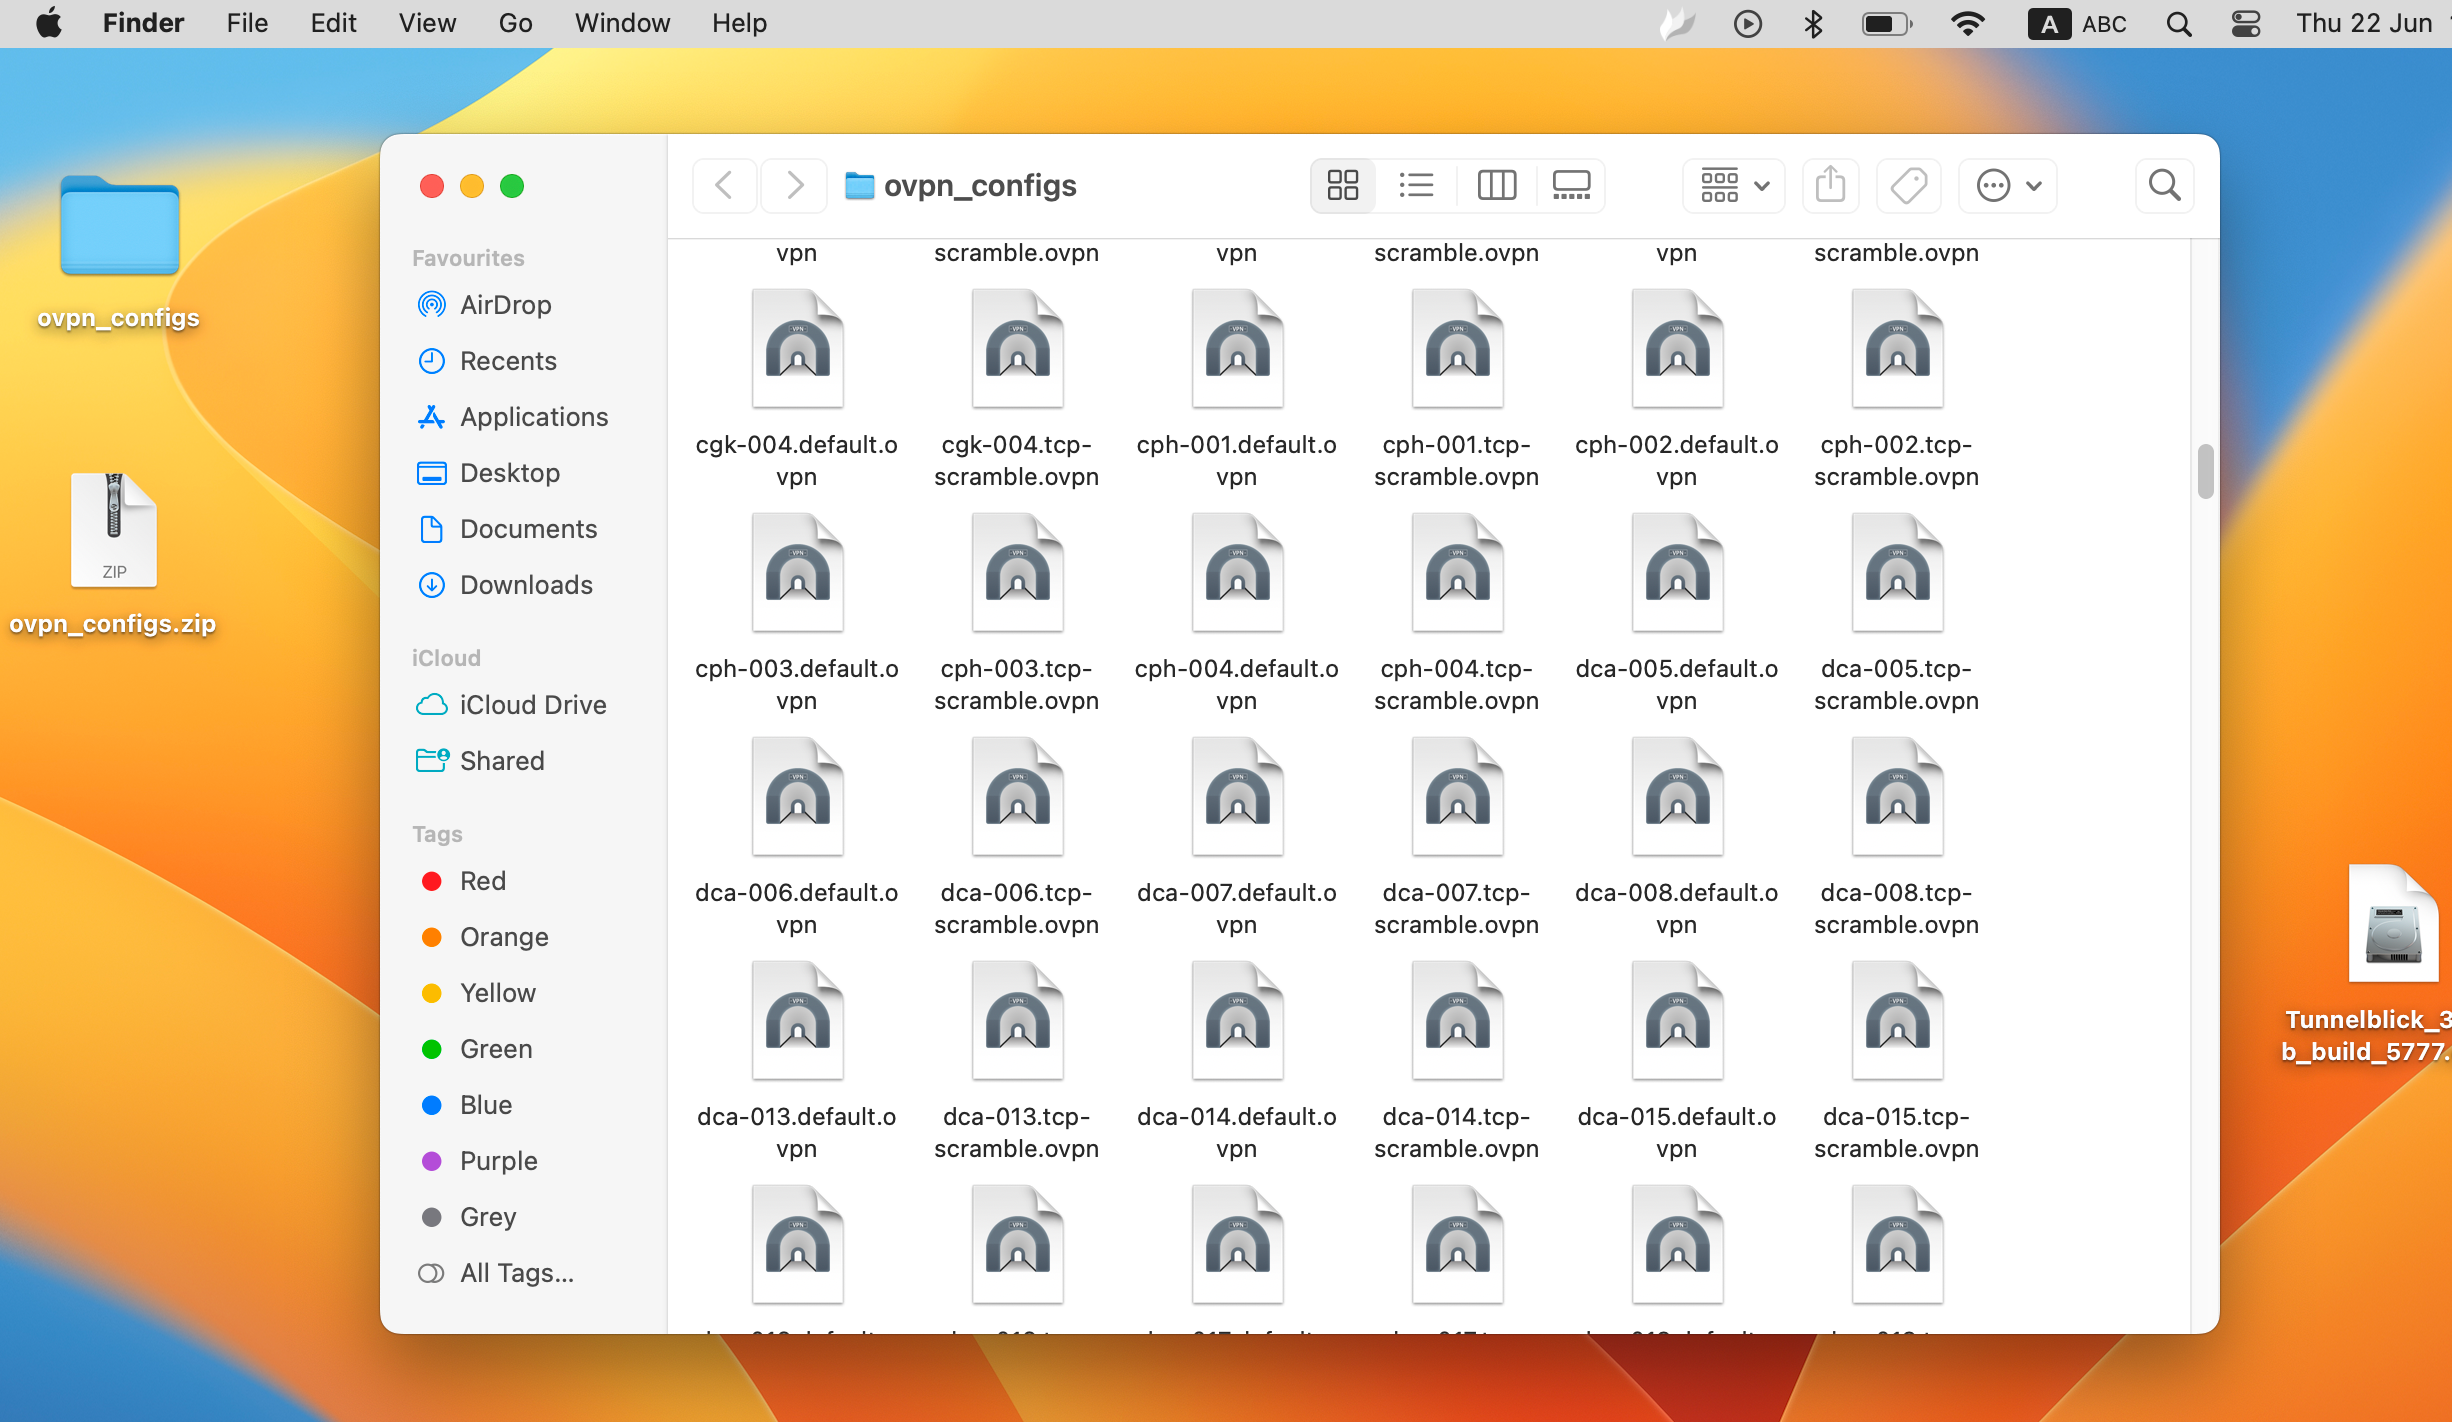
2. Download the OpenVPN server configuration files here: https://privadovpn.com/apps/ovpn_configs.zip
- You can find the downloaded app in your browser Downloads folder or in the folder you specified previously. In the example below, it is saved to the Desktop.
- Double-click on the .zip folder to unzip the archive.
3. Next, you will need to choose what configuration files you would like to upload. To understand what location each config file corresponds to, please visit your Privado Admin page: https://app.privadovpn.com/en/server-list or https://app.privado.live/en/server-list.
4. After finalizing the Tunnelblick installation, drag the .ovpn files of your choice to the left side of Tunnelblick, under "Configurations".
- The icon will show a green + icon if it's able to accept the file.
-
You will be asked, "Install Configuration For All Users?". Choose your preference and enter your Mac password again. If you selected all files, you might need to wait for them to be fully uploaded.
- Be sure to check the "Route all IPv4 traffic through the VPN" and the "Disable IPv6 (tun only)" options.

5. Press "Connect" in the bottom right and enter your Privado username and password.
If you'd like the information to be saved each time you connect, check the "Save in Keychain" options.

6. Press "OK" for the app to start connecting.

7. When the successful connection is established, you will see the badge notice as shown below. Press "Disconnect" whenever you need to disable your VPN connection.

You can additionally verify your new VPN location by visiting the Privado website and checking the top bar.

Congratulations! You have successfully connected to PrivadoVPN.
If you run into any issues, please contact our support team through our support center. We are online 24/7 and will be happy to help.

